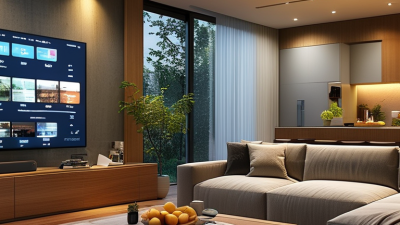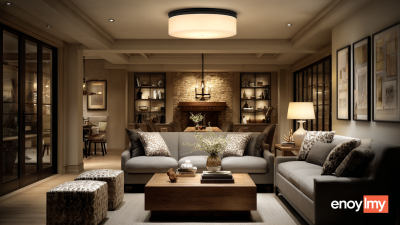
A Flush Mount Ceiling Light sits closely against the ceiling, creating a clean profile without a hanging stem or visible chain. It is common in bedrooms, hallways, kitchens, offices, and rooms with low ceilings. Unlike pendant fixtures, it does not dominate the room. It quietly spreads light across the space.
Its operation is simple but carefully designed. Electricity travels through the ceiling wiring into the fixture’s socket, driver, or integrated LED module. The light source then produces illumination through a glass shade, acrylic diffuser, or open lens. Many models use LED technology because it offers low energy use, long service life, and reduced heat. The fixture’s housing supports these parts and helps direct light downward or outward.
That distinction matters. A suitable fixture should match the room’s size, ceiling height, brightness needs, and existing electrical box. In practical installation work, small details often affect performance. A loose mounting bracket can cause vibration, while a poorly seated diffuser may create uneven shadows. Moisture-rated models are safer choices for damp areas, but product labels still deserve careful reading. No fixture is perfect. Some integrated LEDs are efficient but harder to replace when they fail. Replaceable bulbs offer flexibility, though they may create more visible heat or uneven brightness. Understanding these trade-offs helps homeowners and designers choose a reliable Flush Mount Ceiling Light with confidence. For unfamiliar wiring, professional electrical assistance remains the responsible option.
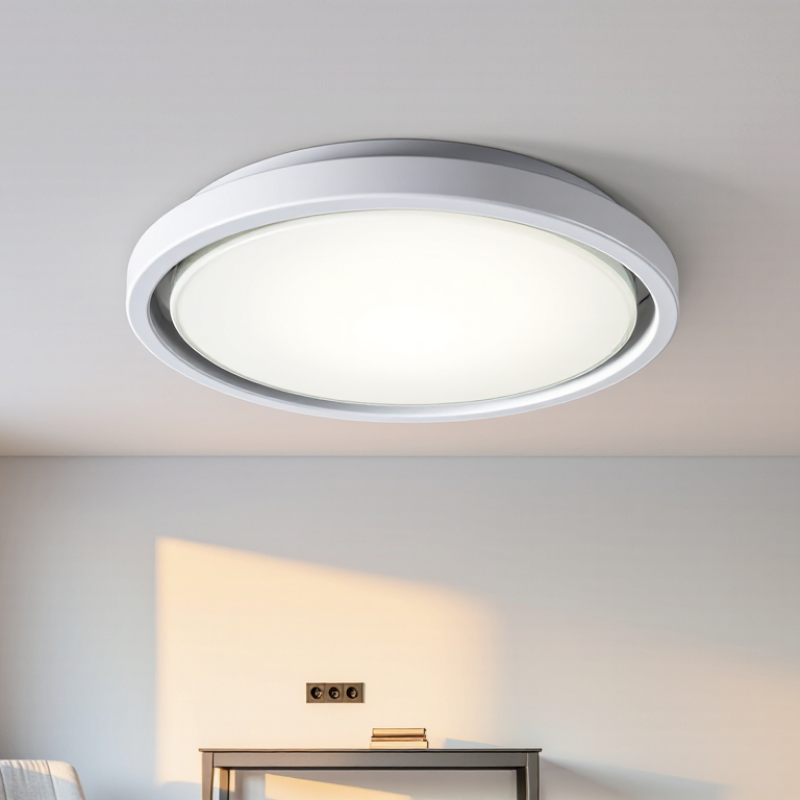
A flush mount ceiling light sits directly against the ceiling, without a hanging stem or chain. Its compact housing works well in bedrooms, hallways, kitchens, and rooms with low ceilings. The fixture usually contains a diffuser, light source, heat sink, and electrical driver. The diffuser spreads light across the room, while the driver converts household current into a stable output for LEDs.
My first assumption was that flush mount lighting simply means “a flat lamp.” That explanation is incomplete. The housing also protects internal components from dust and accidental contact. In LED models, the heat sink helps move heat away from the diodes. This matters because excessive heat can shorten operating life. The U.S. Department of Energy reports that LED products use at least 75% less energy and last up to 25 times longer than incandescent lighting. Those figures describe LED technology broadly, not every ceiling fixture.
Light distribution still depends on the diffuser, ceiling height, and room surfaces. A frosted diffuser creates softer illumination, but it may reduce brightness slightly. A clear diffuser can look brighter, yet glare becomes more noticeable. I have found that people often choose by appearance alone. That is a weak method. Check the lumen rating, color temperature, dimmer compatibility, and installation instructions before choosing. The U.S. Department of Energy also identifies controls and efficient lighting design as important parts of reducing lighting energy use.
A flush mount ceiling light is installed directly against the ceiling rather than suspended by a chain or rod. Electrical current powers the LED light source, while the diffuser spreads the light across the room. The chart shows estimated total lumens for general room lighting, using a common planning range of 10–20 lumens per square foot.
What Is a Flush Mount Ceiling Light and How Does It Work?
A flush mount ceiling light sits directly against the ceiling, leaving little space above its shade. Its main parts work together inside a compact housing. The canopy, or backplate, covers the ceiling junction box and supports the fixture. A metal mounting bracket connects the light to that box. Screws hold the bracket firmly, while supply wires deliver electrical power.
Inside, the light source may be an LED board or a replaceable socket. LED models usually include a driver, which converts incoming current into a stable output. The driver also helps control heat and prevents visible flicker when properly designed. A diffuser spreads light across the room and softens harsh points. It may be glass, acrylic, or another heat-resistant material. Small details matter here.
The U.S. Department of Energy states that LED lighting can use at least 75% less energy and last up to 25 times longer than incandescent lighting. Those figures explain why integrated LED flush mounts are increasingly common. However, efficiency depends on the driver, thermal design, and operating conditions. A poorly ventilated ceiling cavity can shorten service life. That is easy to overlook.
During installation, an electrician checks the junction box, grounding path, wire connections, and fixture weight. The mounting bracket should not carry more load than its rated capacity. I have seen loose shades create rattling sounds after several months. The cause was not always the light source. Sometimes, it was simply an under-tightened fastener.
A flush mount ceiling light sits directly against the ceiling, without a hanging stem or chain. Its compact housing contains the light source, wiring, and electrical components. This design works well in bedrooms, hallways, kitchens, and rooms with low ceilings.
When you switch on the light, electricity travels through the building’s wiring to the fixture. For LED models, a driver changes the incoming current into a stable supply for the diodes. The diodes produce light, while a diffuser spreads it across the room. Many diffusers are frosted, which softens harsh points and reduces glare. The fixture’s metal base also helps hold the components securely against the ceiling.
Installation still requires care. The power should be turned off at the circuit breaker, not only at the wall switch. A qualified electrician checks the wires, mounting bracket, grounding, and ceiling box before fastening the fixture. That small check matters. A loose connection can cause flickering, heat, or failure.
In practical use, flush mount lights are simple but not foolproof. Dust can collect around the diffuser and reduce brightness over time. Heat may also shorten the life of poorly ventilated components. I once assumed a brighter bulb would solve every lighting problem, but glare made the room less comfortable. Choosing the right color temperature and brightness is often more important than maximum output. The ceiling height, room size, and diffuser material should guide that choice.
A flush mount ceiling light sits directly against the ceiling, leaving little space between the fixture and the surface. Its housing holds a bulb, LED board, driver, and diffuser. When electricity reaches the driver, it regulates current and powers the light source. The diffuser spreads light across the room and reduces harsh glare. This design suits bedrooms, hallways, kitchens, and rooms with low ceilings.
Several types are available. A traditional dome fixture uses replaceable bulbs and a glass or acrylic shade. It is simple to maintain, but the shade may collect dust near its rim. Drum-style fixtures add a fabric or metal cylinder around the light, creating softer, more decorative illumination. Integrated LED fixtures contain built-in diodes and usually provide a slim profile. They use less energy, although replacing the whole fixture may be necessary when the LED module fails. Square panel lights offer clean lines and even light, especially in offices or modern kitchens. Some flush fixtures include motion sensors, adjustable color temperature, or dimming controls.
Choosing the right type requires more than checking brightness. Confirm the ceiling junction box can support the fixture’s weight. Check whether the location is dry or damp, especially in bathrooms. A high-lumen light can still feel uncomfortable if its color temperature is too cool. Dimming compatibility also deserves attention. A common mistake is selecting the fixture first and checking the wiring later. Measurements are easy to overlook. Personally, I would compare the diffuser, beam spread, and replacement process before judging appearance alone.
| Light Type | How It Works | Typical Light Source | Typical Profile | Best Applications | Important Considerations |
|---|---|---|---|---|---|
| Standard Flush Mount | A ceiling canopy holds the fixture directly against the ceiling while a shade diffuses light from the lamp. | Replaceable LED, compact fluorescent, or incandescent-compatible lamps. | Usually about 10–20 cm (4–8 in) deep. | Bedrooms, hallways, closets, kitchens, and rooms with low ceilings. | Check the maximum lamp wattage, socket type, shade access, and ceiling-box compatibility. |
| Integrated LED Flush Mount | Light-emitting diodes are built into the fixture and powered by an internal LED driver that converts household AC power to the required operating current. | Integrated LED modules. | Often about 2.5–7.5 cm (1–3 in) deep. | Modern interiors, utility areas, offices, and spaces needing a slim profile. | The LED module is generally not intended for routine replacement; review rated life, color temperature, and dimmer compatibility. |
| Semi-Flush Mount | A short stem or spacer creates a small gap between the canopy and the shade, allowing light to escape upward as well as downward. | Replaceable lamps or integrated LED modules. | Typically deeper than a true flush mount but shallower than a pendant. | Dining areas, bedrooms, entryways, and living rooms with moderate ceiling height. | It needs more vertical clearance than a flush mount and may create more visible upward or ambient light. |
| Drum Flush Mount | A cylindrical fabric, glass, or acrylic shade surrounds the lamp and spreads light over a broad area. | Replaceable lamps or integrated LED modules. | Low-profile cylindrical housing; diameter varies by room size. | Bedrooms, living rooms, dining areas, and transitional interiors. | Shade material affects glare, light transmission, cleaning requirements, and overall appearance. |
| Globe or Diffuser Flush Mount | A spherical or rounded diffuser encloses the lamp, softening bright points and distributing light in multiple directions. | Replaceable LED or other compatible lamps; some models use integrated LEDs. | Generally compact, with the diffuser extending below the ceiling canopy. | Bathrooms, corridors, kitchens, bedrooms, and utility spaces. | Opaque or frosted diffusers reduce glare but may produce less direct light than clear diffusers. |
| Square or Rectangular Flush Mount | A flat or shallow housing distributes light through a square or rectangular diffuser, often using an LED panel or several lamps. | Integrated LED or replaceable LED lamps. | Usually shallow, with a geometric footprint suited to larger ceiling areas. | Kitchens, offices, laundry rooms, hallways, and contemporary interiors. | Confirm the junction-box position and measure the ceiling area so the fixture does not look undersized or oversized. |
| Moisture-Rated Flush Mount | The fixture uses a construction and enclosure rating designed for damp locations, helping protect electrical components from humid air or limited moisture. | LED modules or enclosed replaceable lamps. | Profile depends on the diffuser and sealing design. | Bathrooms, covered porches, laundry areas, and other humid locations when permitted by the product rating. | Damp-rated and wet-rated are different classifications; use only the rating suitable for the installation location. |
| Dimmable or Smart Flush Mount | An electronic driver or control system adjusts light output through a compatible wall dimmer, remote, app, or voice-control system. | Usually integrated LED. | Commonly slim, although control hardware may increase housing depth. | Bedrooms, living rooms, home offices, and multi-purpose spaces. | Verify the control protocol, wireless requirements, minimum dimming level, and compatibility with the electrical system. |
A flush mount ceiling light sits close against the ceiling rather than hanging from a rod. Its base attaches to an electrical box, while the shade spreads light across the room. I once chose a fixture by appearance alone. The result looked neat but felt dim over a kitchen worktop. Brightness matters more than photographs suggest.
Measure the room before shopping. A small bedroom may suit a compact, low-profile fixture, while a larger room needs more lumens or multiple lights. Check the fixture’s diameter, height, color temperature, and dimmer compatibility. A warm tone feels comfortable in bedrooms, but a neutral tone can improve visibility in kitchens. Confirm the ceiling box can support the fixture’s weight. Damp areas require an appropriately rated model.
Installation should begin at the breaker, not the wall switch. Switches can be miswired. Turn off the circuit and verify the wires are dead with a suitable tester. Secure the mounting bracket, connect matching wires, and tuck them carefully into the box. Follow the included instructions because wire colors and connectors can vary. The fixture must sit flat, without pinching wires. I would not guess here. A licensed electrician is the safer choice when the box is loose, wiring is damaged, or grounding is unclear. Restore power only after checking every connection and fastening the shade firmly.